
Story by Brandy Hall. Founder & Managing Director, Shades of Green Permaculture, Atlanta, Georgia.

When it comes to rainwater harvesting, a few common mistakes leave the end product less than functional. I’m going to walk you through those errors and show you how to avoid them, so you have a beautiful and functional rainwater system.
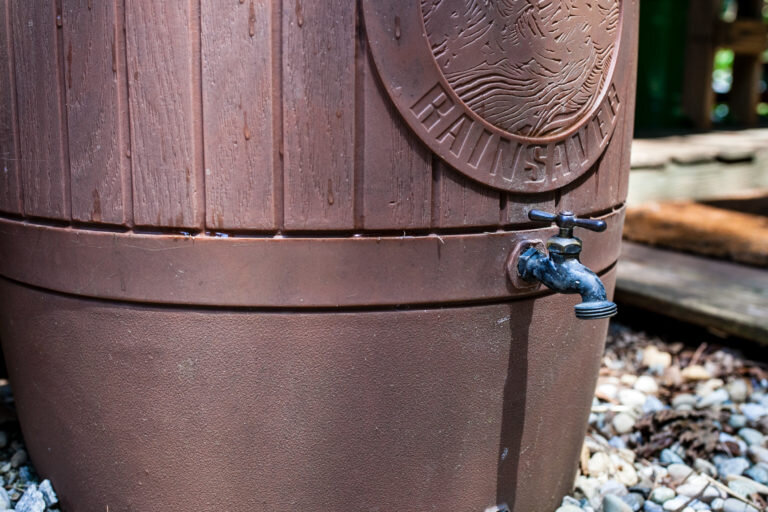
75-gallon rain barrel; photo: WildGrain Photography
When it comes to rainwater harvesting, a few common mistakes leave the end product less than functional. I’m going to walk you through those errors and show you how to avoid them, so you have a beautiful and functional rainwater system.
Firstly, “rainwater harvesting” means collecting rainwater in a rain barrel, cistern, or tank to store that water to be used later. There are many ways to use the rainwater you have captured⏤for irrigation, washing cars, foot wash (if your partner is always barefoot like mine is, this is a nice touch by the front door!), even indoor non-potable and potable uses. What your end-use for the water is will determine the type of system you build. But for this blog, I’m going to focus on home-scale above-ground rain barrel and cistern systems (not for indoor use).
MISTAKE #1: The cistern or barrel is not sized appropriately
There is an immense amount of water that comes off of a standard residential roof. On 1,000 square feet in 1″ of rain, there are ~622-gallons of water that runoff. The number one mistake I see in the field is that the tanks are undersized for the amount of water they collect. As you can imagine, a small rain barrel collecting half of your roof water is going to fill up VERY quickly, and then, more often than not, the water pours out of the top (usually right at the foundation). This leads me to the second error I see often.
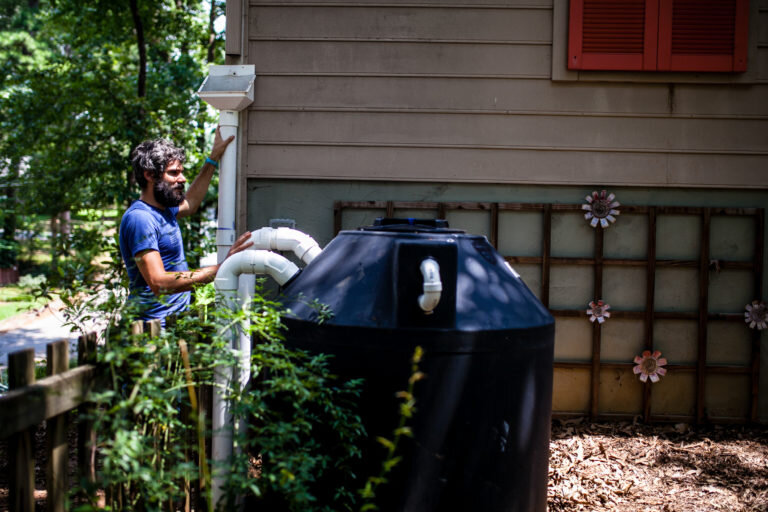
300-gallon cistern; photo: WildGrain Photography
MISTAKE #2: The cistern or barrel doesn’t have an overflow (or if it does, it’s too small).
Especially when you’re working with a small rain barrel, it’s essential to make sure you have a properly-sized overflow. Most rain barrels come equipped with a 1″ overflow. But think about this: if the barrel is full (and you should always plan as if it is because often, it will be), and then a full 3″ downspout is pouring into the tank that quickly gets sized down to a 1″ pipe (the manufacturer’s overflow), that is a textbook definition of a bottleneck, and oftentimes, the water ends up spilling out of the top of the tank at the foundation (again!). A good rule of thumb is: the overflow should be the same size as the input pipe (in most cases, the downspout that feeds it).
MISTAKE #3: Nowhere for the water to go
So, what do you do once you have an overflow? Send it somewhere useful! The third error I often see with rainwater harvesting is⏤after having gone through all the trouble of hooking up a rain cistern⏤the overflow (if there is one) either dumps out right next to the tank (again near the foundation!) or it is sent down the driveway, lawn, or other impervious surface and into the stormwater system. And yes, I know I called lawn an impervious surface⏤did you know that between 80-90% of the water that hits lawn runs off (depending on the type of grass)? That’s another blog…Instead, there is a great opportunity literally pouring out of that overflow pipe to be put to service restoring the water cycle in your yard! You can plumb it to go to a rain garden, swale, or even a heavily-mulched garden bed, where it can soak into the soil.
If you want to know more about stewardship practices that are “low hanging fruit” (see what I did there?) to build resilience in your yard, I have a FREE masterclass⏤ The 3 Pillars of a Regenerative Landscape⏤coming up soon. You can register here if you’d like to join to learn simple solutions we can easily implement in our yards to make a positive impact, including techniques for working with water (you only need a shovel!), how to build soil without the need for fertilizers or costly inputs, and how to choose plants that work together to support the ecology of your land (and feed you, too!).
Be sure to check out Shades of Green Permaculture’s upcoming online course!
The Regenerative Backyard Blueprint
Presented by Shades of Green Permaculture, The Regenerative Backyard Blueprint is a 12-week course and step-by-step guide to transforming an outdoor space into an eco-friendly paradise. Designed for those with residential urban or suburban outdoor space, participants will learn to create a thriving space that protects biodiversity, builds soil, restores the water cycle, and grows food, medicine, and pollinator habitat. The course includes seven immersive learn-at-your-own-pace modules, how-to videos, construction diagrams and blueprints, implementation tools, virtual site visits, and live Q&As. Register here.
